2025-05-18 | [apple_ii] [retrocomputing] [3d_prints]
The Apple II Plus (and earlier) is well known for its expansion slots. It might be less well known for not having any rear IO mounting points, just a few slots cut into the case where the cables just dangle out of.
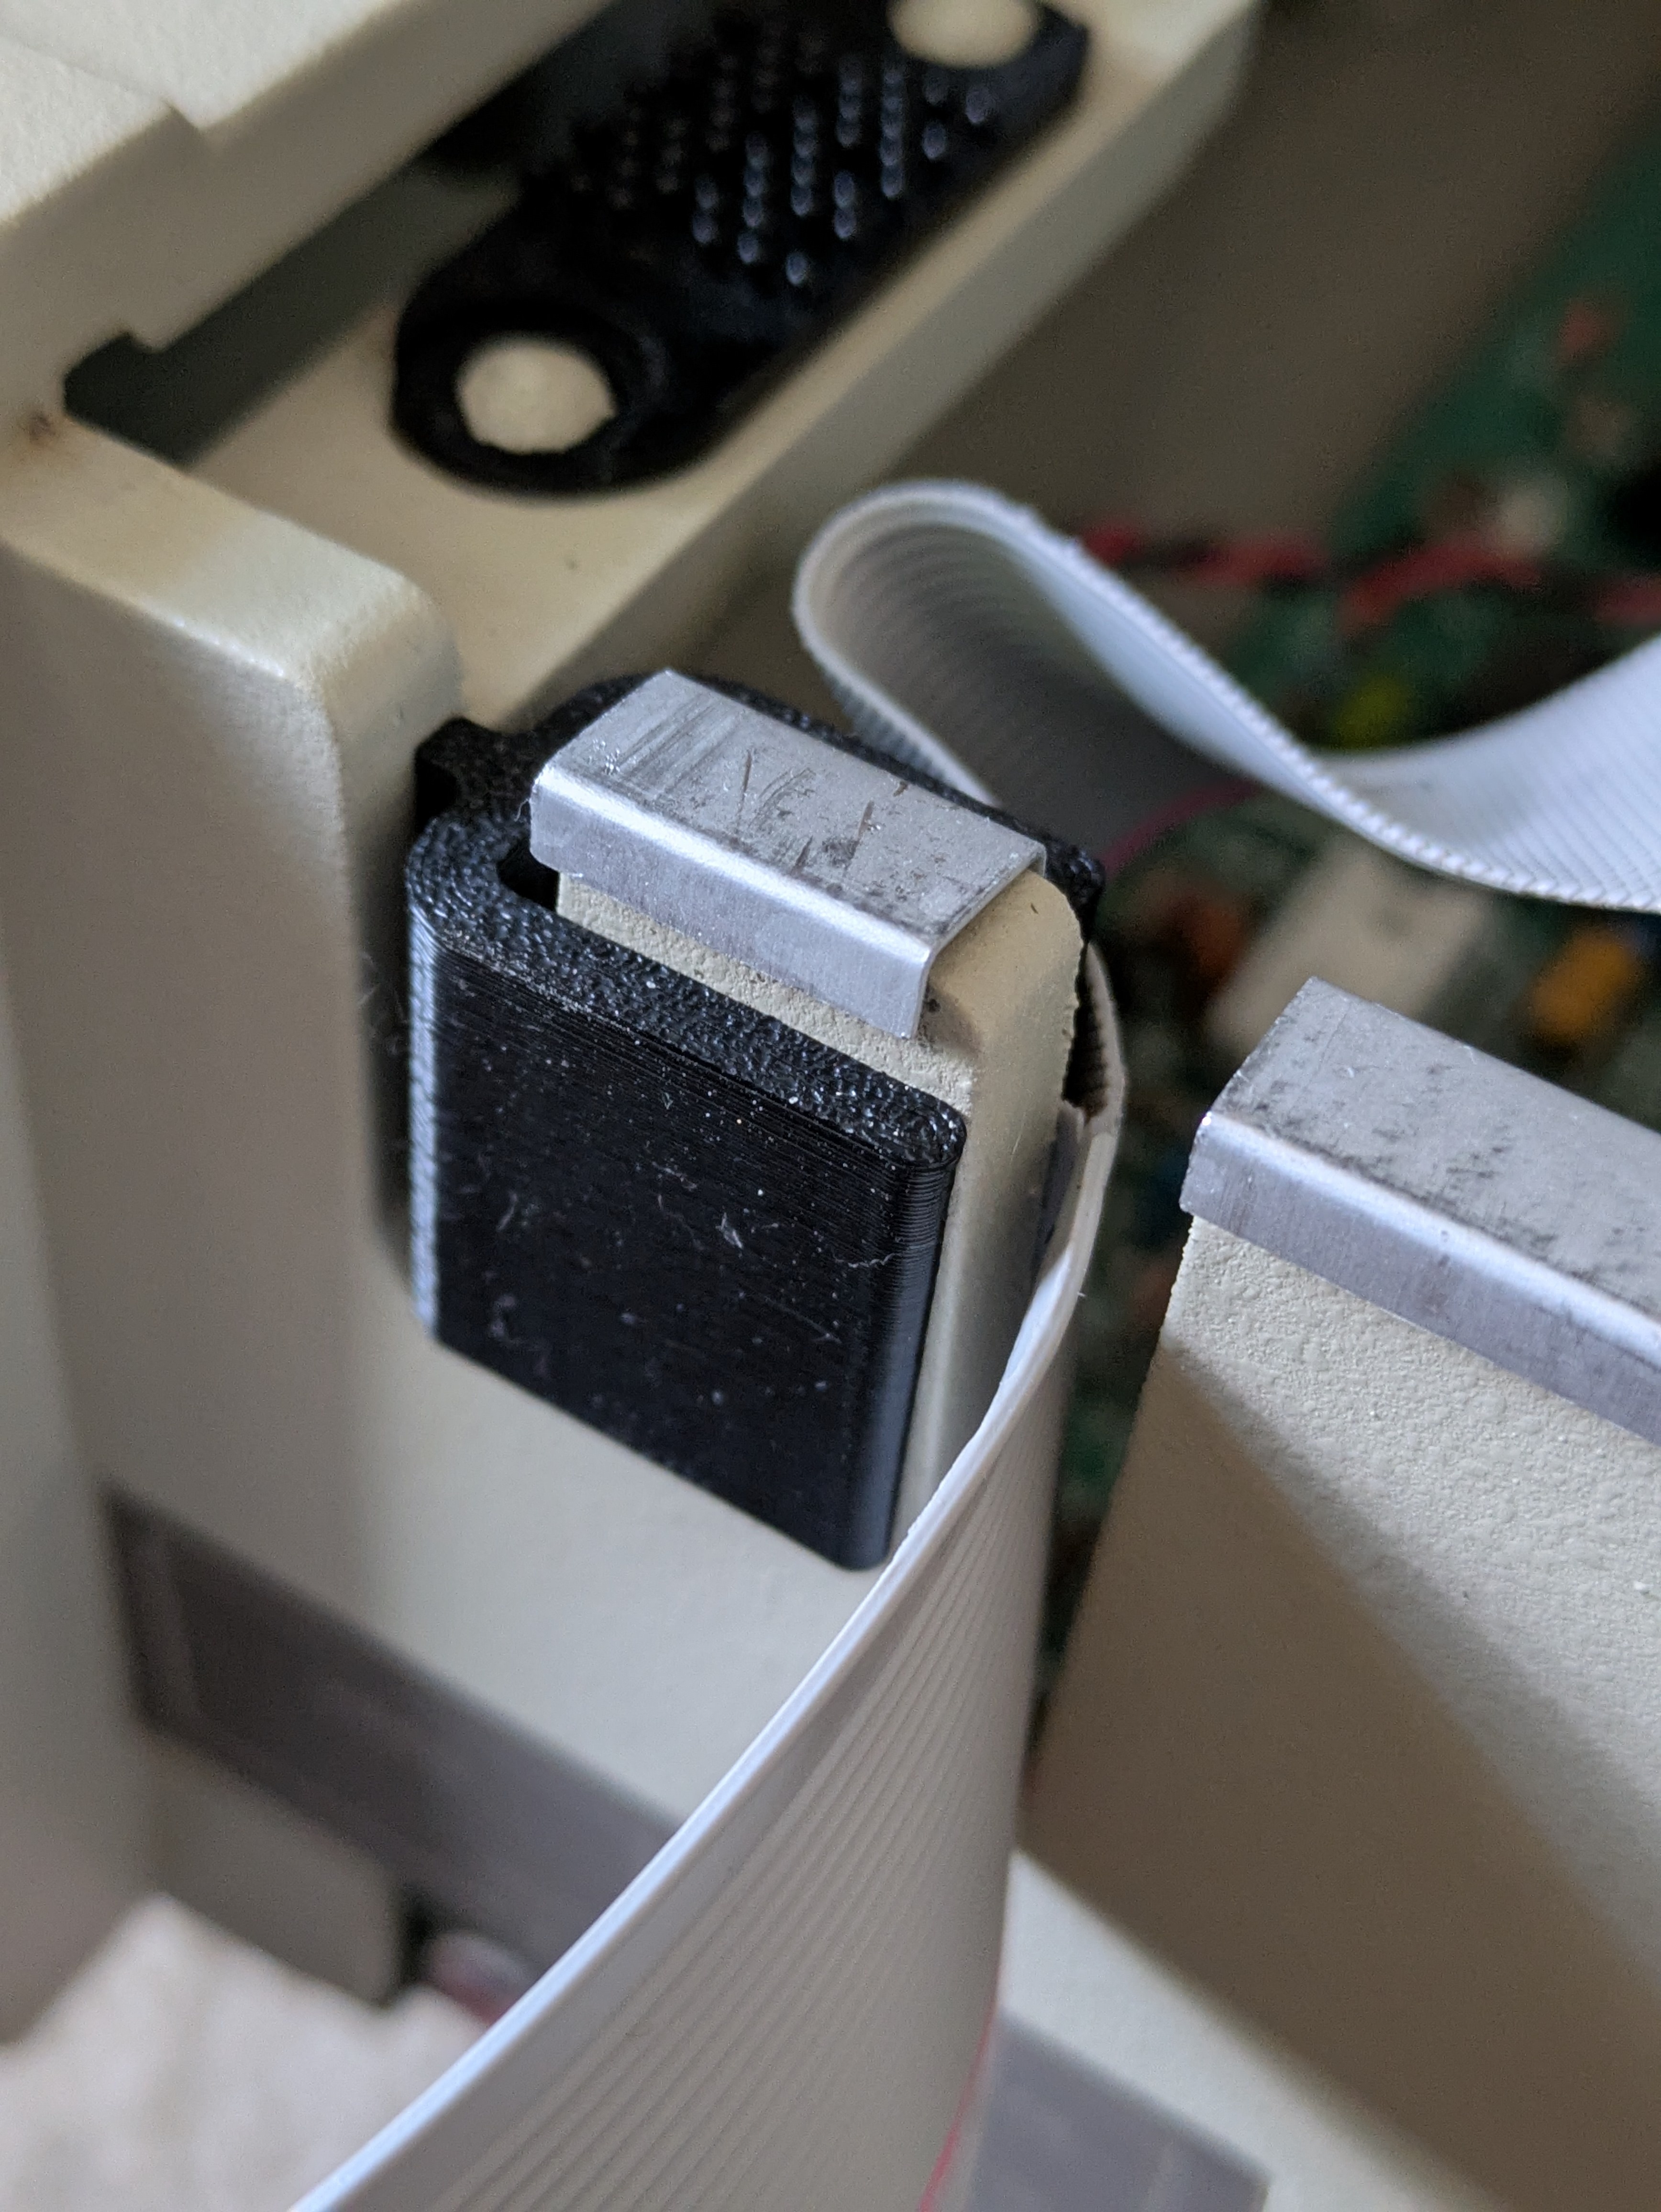
The ribbon cable leading to the disk II drive has a metal ferrule at the computer end, presumably for both grounding and strain relief. It originally was supposed to come with a metal screw-down clamp that would hold on to this piece, but my apple II plus did not have one. Since I only have one drive, I made a simple plastic clip to hold onto it, like so:

download the .step | download the FreeCad
My Apple II Plus also has a Super Serial card, and an 80 Column card. It was somewhat common to have a small box or two of sorts to mount these to the back of the machine, otherwise the wires simply hang out of the slots.
I found this one on Thingiverse, but it was just a little too unfinished for my tastes, and I felt I could make one that was a little more robust.
I decided to make one that would hold both ports in one box. The DB-25 is the one that comes with the Super Serial card (including the stamped metal backing clamp it comes with; if yours doesn't have this you can probably use some nuts and washers, or 3D print your own). The RCA connector is Switchcraft BPJR03X or BPJR04X. I like these ones because they install from the rear, after you already soldered the wire to them, and can be removed without cutting the wire.

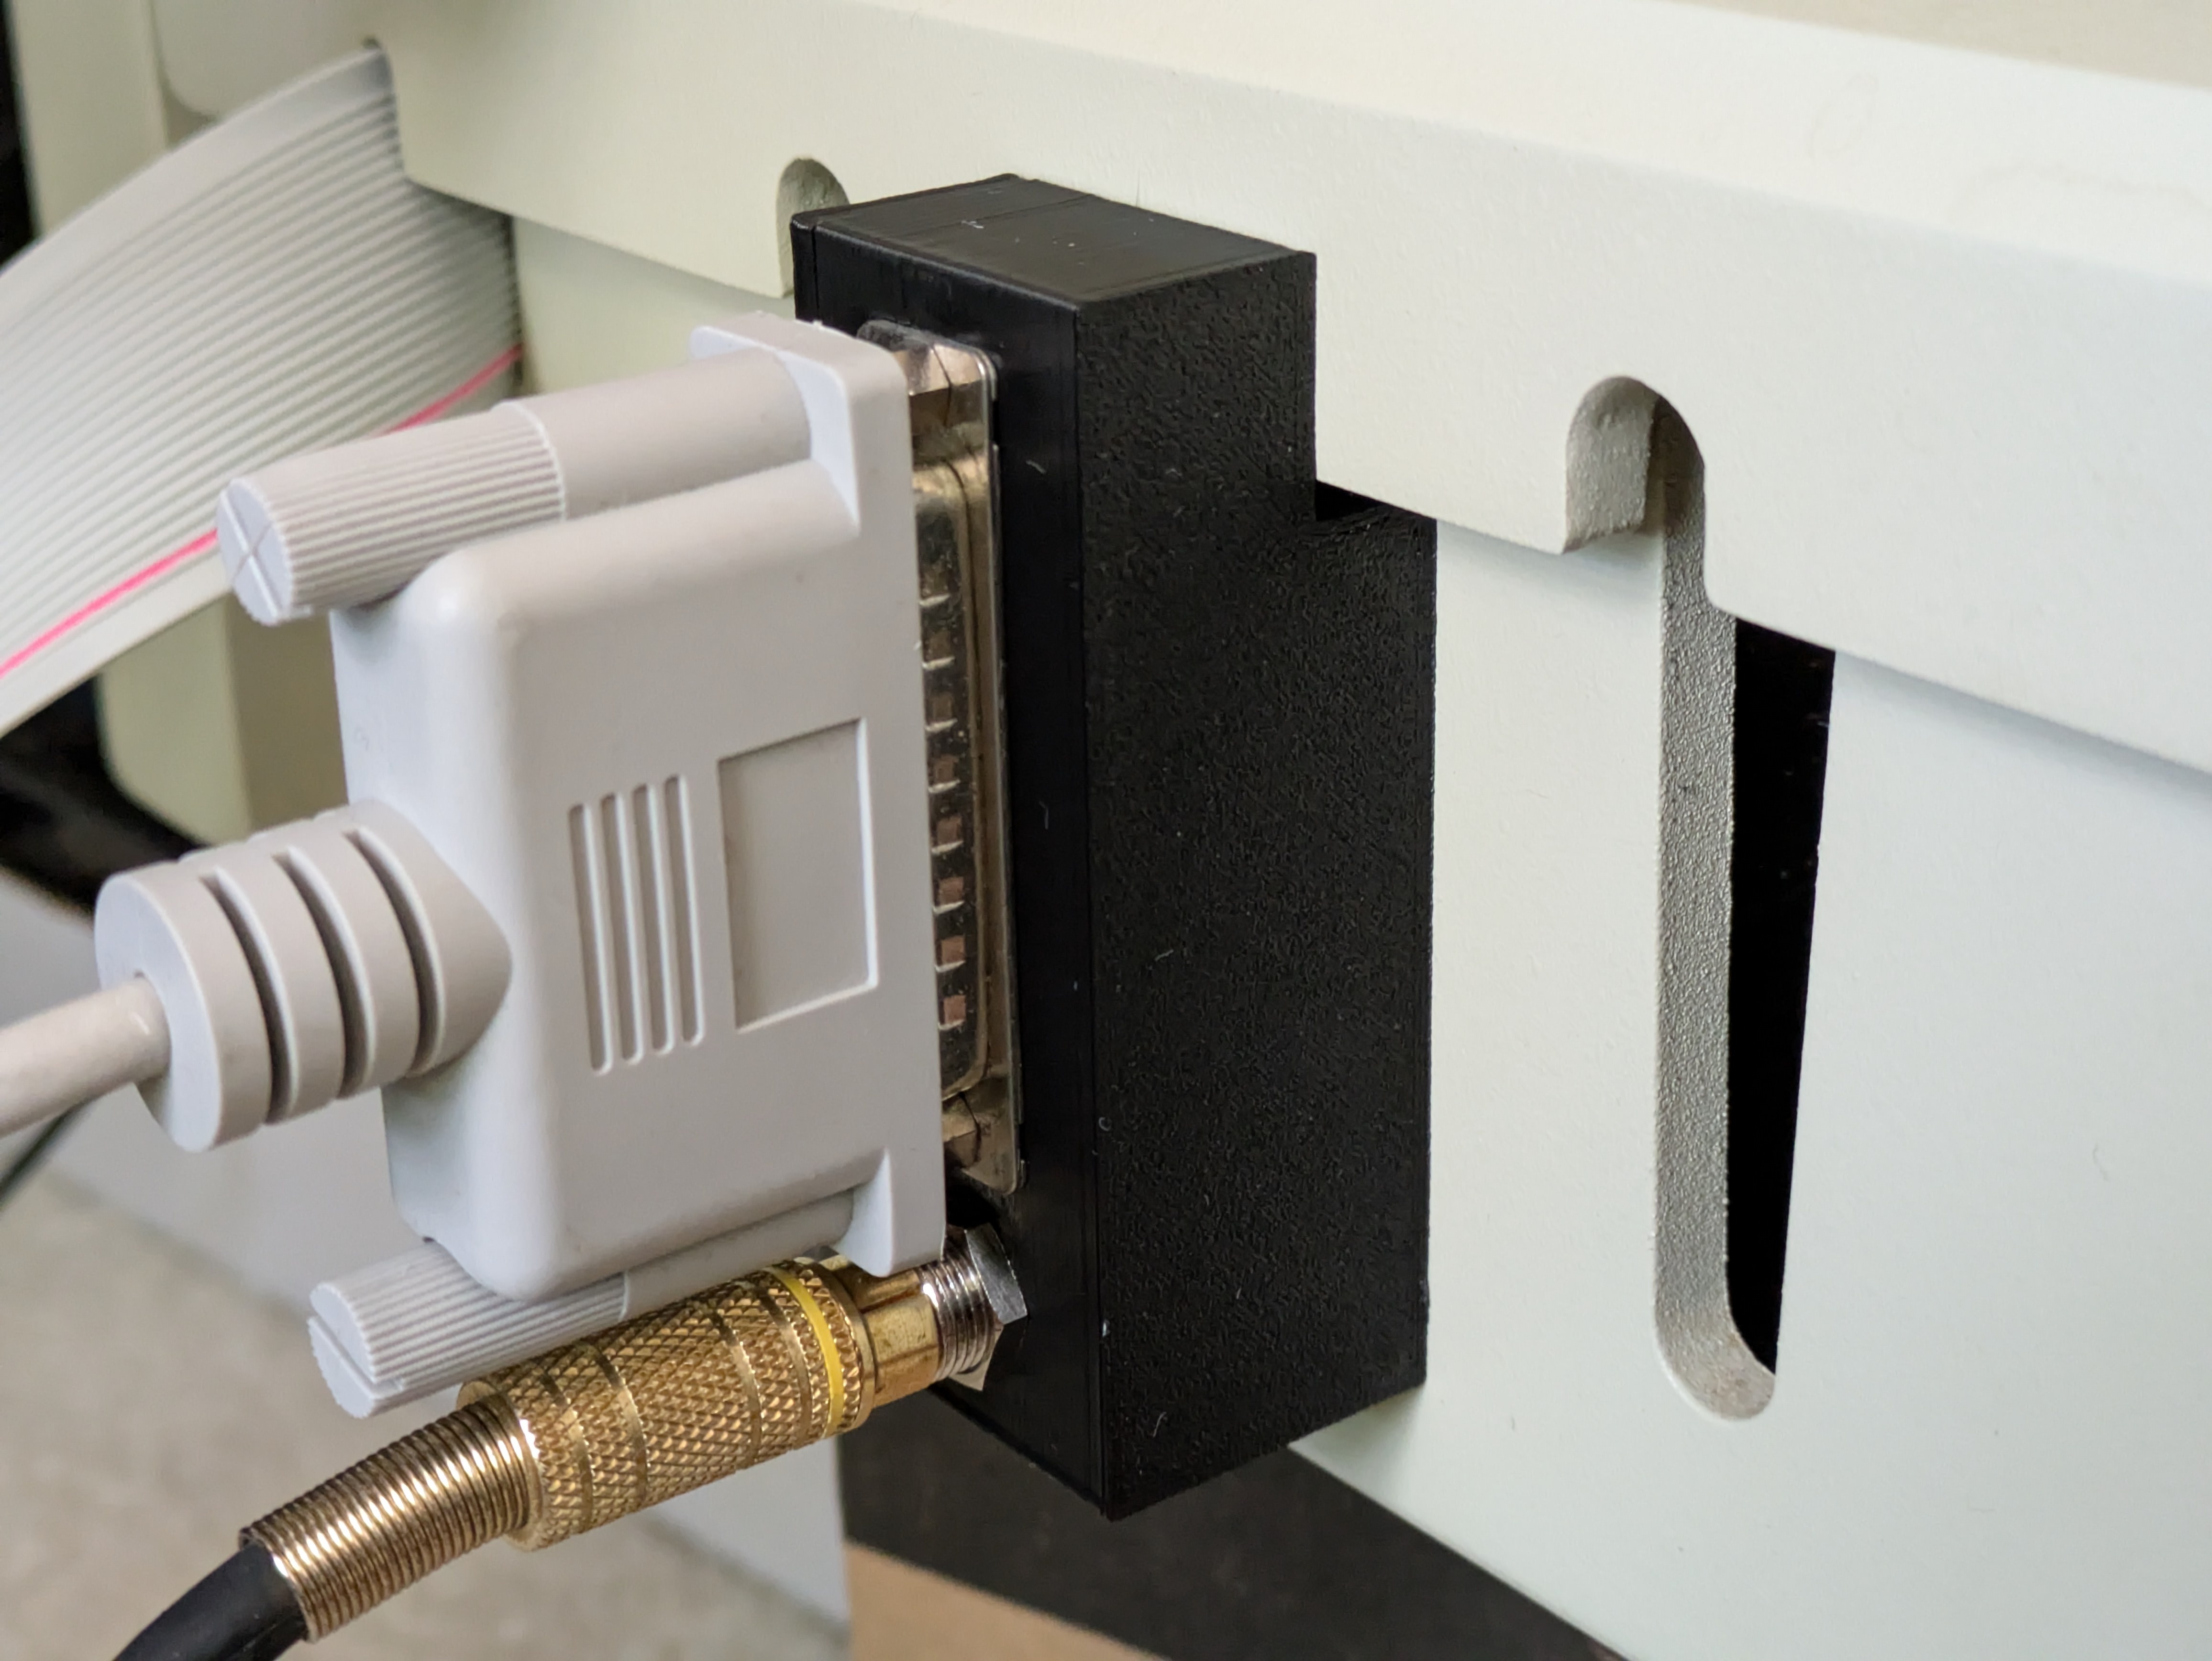
The box I made ended up quite sturdy. It neatly wedges into the tapered slot, and clears the Apple II lid with just enough clearance. It is very solid - you could probably pick up the whole computer by it. It prints without supports (assuming your printer is ok at bridges) and has a cover that just presses in place. The one downside is that the back-front tolerance is quite tight; I had to bend up the metal RF shield to install it, before bending it back afterwards.
.step for holder | .step for lid | FreeCad (combined holder and lid)